Are you the proud owner of a vintage lamp that needs a little TLC? If so, rewiring your lamp can bring it back to life and ensure it is safe to use. While rewiring a lamp may seem intimidating, it is a relatively simple process that can be completed with just a few tools and some patience.
In this step-by-step guide, we will take you through the process of rewiring your vintage lamp from start to finish. We will cover how to assess the condition of your lamp, gather the necessary tools and materials, remove the old wiring and components, install new wiring and components, and finally, test and finish your rewired vintage lamp.
So, roll up your sleeves and let’s get started on bringing your vintage lamp back to its former glory!
Assessing the Condition of Your Lamp
Before you start rewiring, take a good look at your vintage lamp and see if it’s in good enough shape to salvage. Start by checking for safety. Make sure the lamp doesn’t have any frayed wires, cracked sockets, or exposed metal. If it does, replace them immediately before proceeding. Safety should always be your top priority when working with electricity.
Next, identify any damage to the lamp’s structure or design. Is the base sturdy and stable? Are there any missing or broken parts? Assessing the condition of your lamp will help you determine whether it’s worth investing the time and effort to rewire it.
If you decide to proceed, researching the history of your lamp can help you choose a design that’s appropriate and authentic. Knowing the era and style of your lamp can guide you in selecting the right wiring, socket, and other replacement parts.
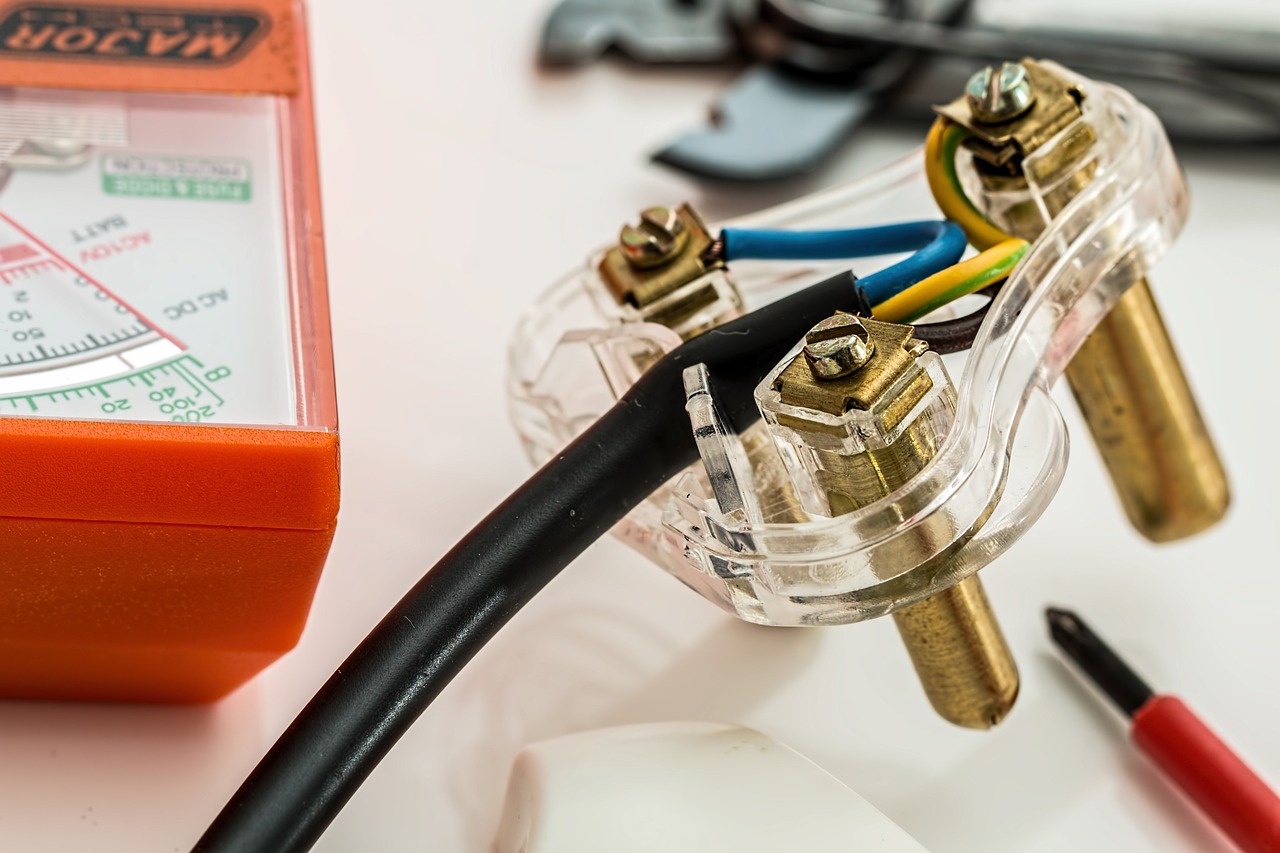
Gathering the Necessary Tools and Materials
To get started, you’ll need a few key tools and materials to successfully rewire your old lamp.
First, you’ll need a new lamp cord that’s appropriate for the wattage of your lamp. Make sure to choose a cord that’s long enough to reach from the lamp to the outlet without being stretched taut. You’ll also need a new plug, which should match the cord you’ve chosen.
Next, you’ll need a screwdriver, wire cutters, and wire strippers. These will come in handy when you’re removing the old wiring and connecting the new cord.
It’s also a good idea to have electrical tape and wire nuts on hand to secure the connections and cover any exposed wires.
Before you begin, be sure to take appropriate safety precautions, such as unplugging the lamp and wearing gloves to protect your hands.
Removing the Old Wiring and Components
Now is the time to get rid of the old, worn-out wiring and components of your lamp. Before you proceed, make sure you’ve taken the necessary safety precautions to avoid accidents.
Ensure that you’ve unplugged the lamp from the power source and let it cool down before handling it. Wear protective gloves and eyewear to avoid injuries.
To remove the old wiring, disassemble the lamp carefully. Start by unscrewing the top of the lamp and removing the shade and bulb. Then, remove the bottom cover and carefully pull out the socket and wiring. Be sure to handle the components delicately to avoid damaging them.
Once you’ve removed everything, dispose of the old wiring and components properly. You can check with your local waste management facility for the proper disposal guidelines in your area.
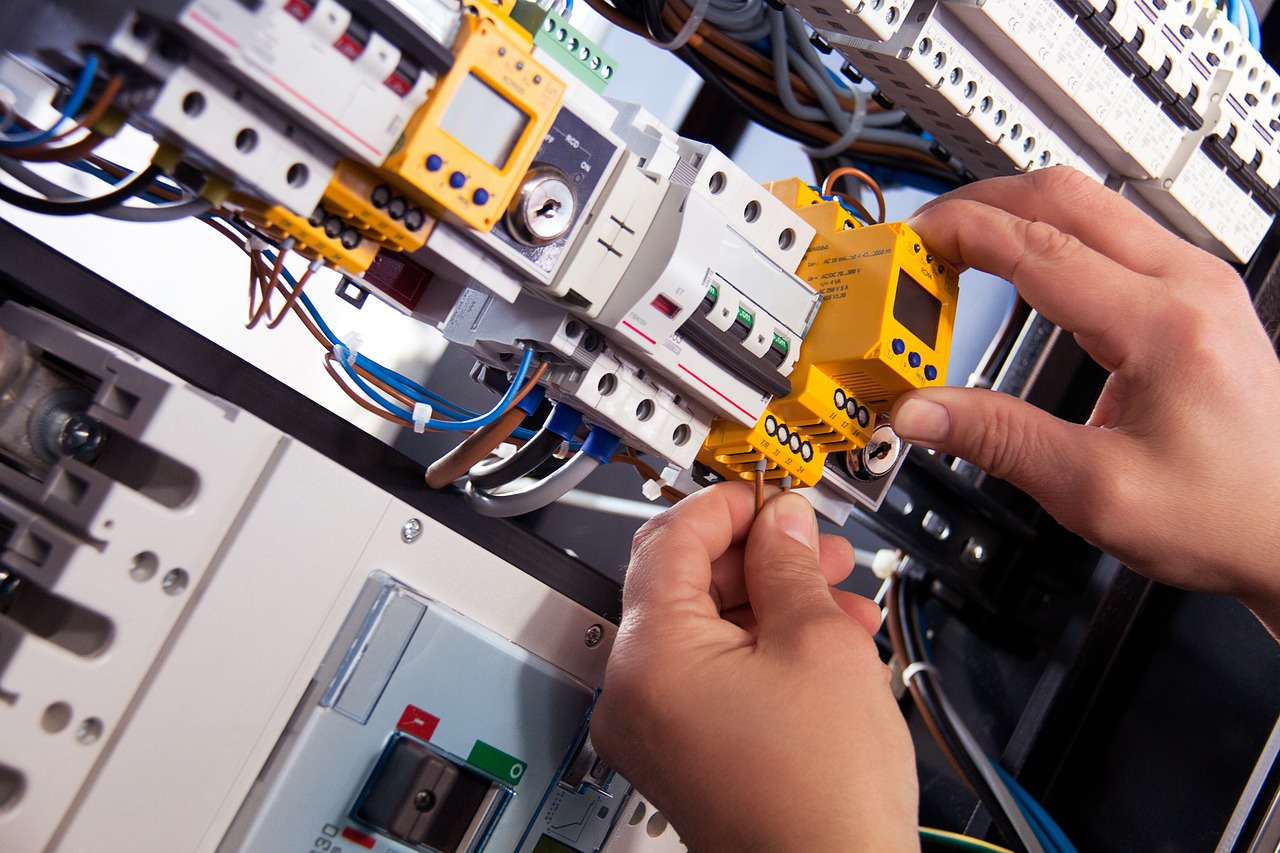
Installing New Wiring and Components
Assembling the new wiring and components requires careful attention and precision to ensure a safe and functional lamp. Start by choosing appropriate wiring that’s rated for the wattage of the bulb and the voltage of the electrical system.
Cut the wire to the appropriate length, leaving a few extra inches for flexibility and maneuverability during installation.
When installing the new wiring and components, it’s important to take safety precautions to avoid any accidents or electrical hazards. Always turn off the power source before beginning the installation process.
Use wire strippers to remove the insulation from the ends of the wires, and then connect them to the appropriate terminals on the socket and switch. Be sure to secure all connections with wire nuts and electrical tape.
Then, carefully thread the wires through the lamp’s body and reattach the base and other components as necessary.
With patience and attention to detail, you can successfully rewire your vintage lamp and enjoy its functional and aesthetic appeal.
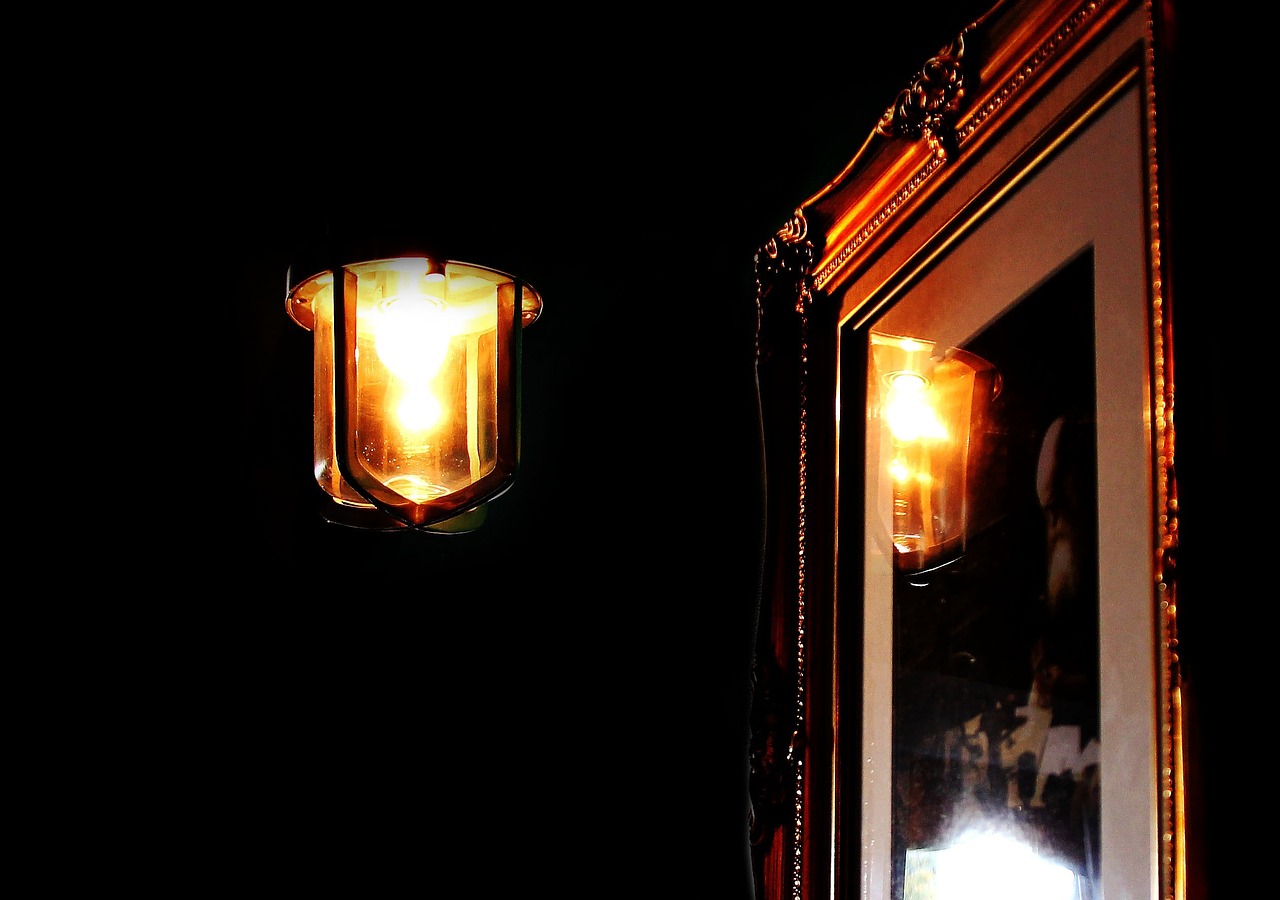
Testing and Finishing Your Rewired Vintage Lamp
After completing the wiring process, it’s time to test and add the finishing touches to your revamped lamp.
The first thing to do is to test the lamp by plugging it in and turning it on. Check that the light bulb is working and that the switch is functioning properly. If everything’s good to go, you can move on to choosing a shade for your lamp.
When choosing a shade, consider the size and shape of your lamp base. You don’t want a shade that’s too big or too small. Also, think about the style and color of the shade. It should complement the lamp base and suit your personal style. Finally, make sure to follow safety precautions when handling and installing the shade.
Always use the correct wattage bulb and keep flammable materials away from the lamp. With these steps, your rewired vintage lamp’s ready to shine bright once again.
Frequently Asked Questions
Can I use any type of wire for rewiring my vintage lamp?
Yes, you must use compatible wire types for vintage lamp rewiring. Avoid common mistakes like using wires with a lower wattage rating, not securing connections, or using damaged wires.
How can I safely dispose of the old wiring and components?
To safely dispose of old lamp wiring and components, consider eco-friendly options like recycling or donating. Avoid throwing them in the trash, as they can be hazardous to the environment.
Is it necessary to replace the lamp socket when rewiring a vintage lamp?
If the original socket is still in good condition, you can reuse it when rewiring a vintage lamp. Upgrading to a new socket may provide better functionality, but it may also alter the lamp’s authenticity.
Can I use LED light bulbs with a vintage lamp?
Yes, you can use LED bulbs with vintage lamps as long as they are compatible. When choosing vintage fixtures, consider the bulb’s wattage and base type to ensure it fits properly.
What should I do if my lamp still doesn’t work after rewiring it?
If your rewired vintage lamp still doesn’t work, try checking the bulb and socket connections, as well as the switch. If the issue persists, consider seeking professional help. Troubleshooting tips are available online.
Conclusion
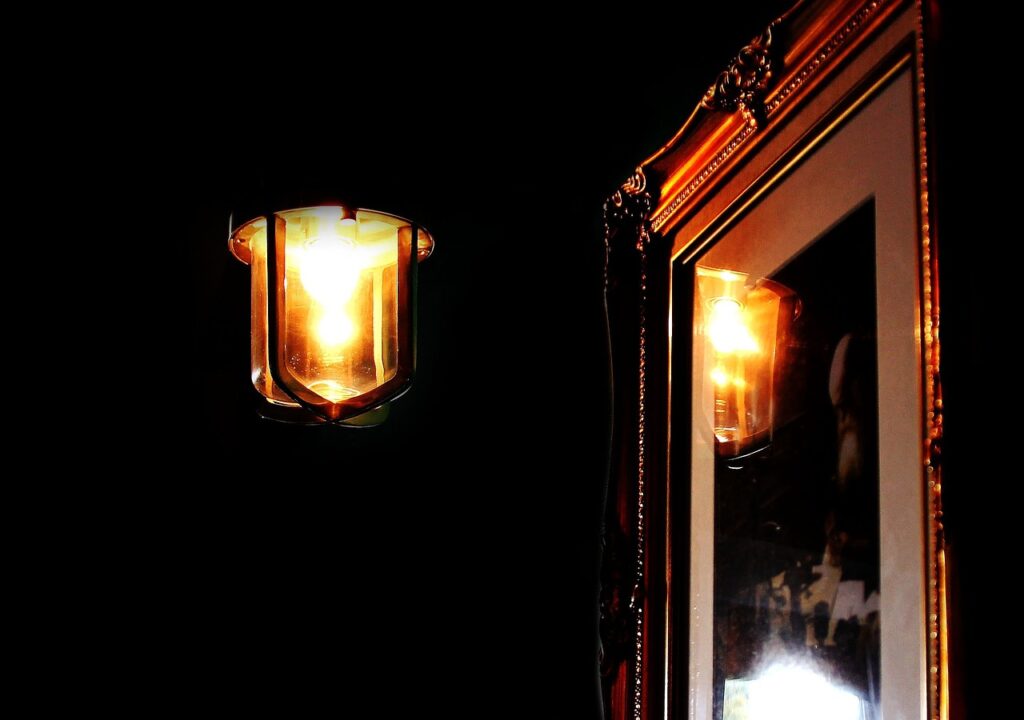
Congratulations! You’ve successfully rewired your vintage lamp and brought it back to life. With the right tools and materials, and a step-by-step approach, you were able to assess the condition of your lamp.
You removed the old wiring and components, installed new wiring and components, and tested and finished your rewired lamp. Not only have you saved money by doing this yourself, but you’ve also given new life to a beloved piece of vintage decor.
Now you can enjoy the warm glow of your vintage lamp with the added peace of mind that it’s safe and functional. Don’t forget to share your success with others and inspire them to take on their own DIY projects.
Happy rewiring!